

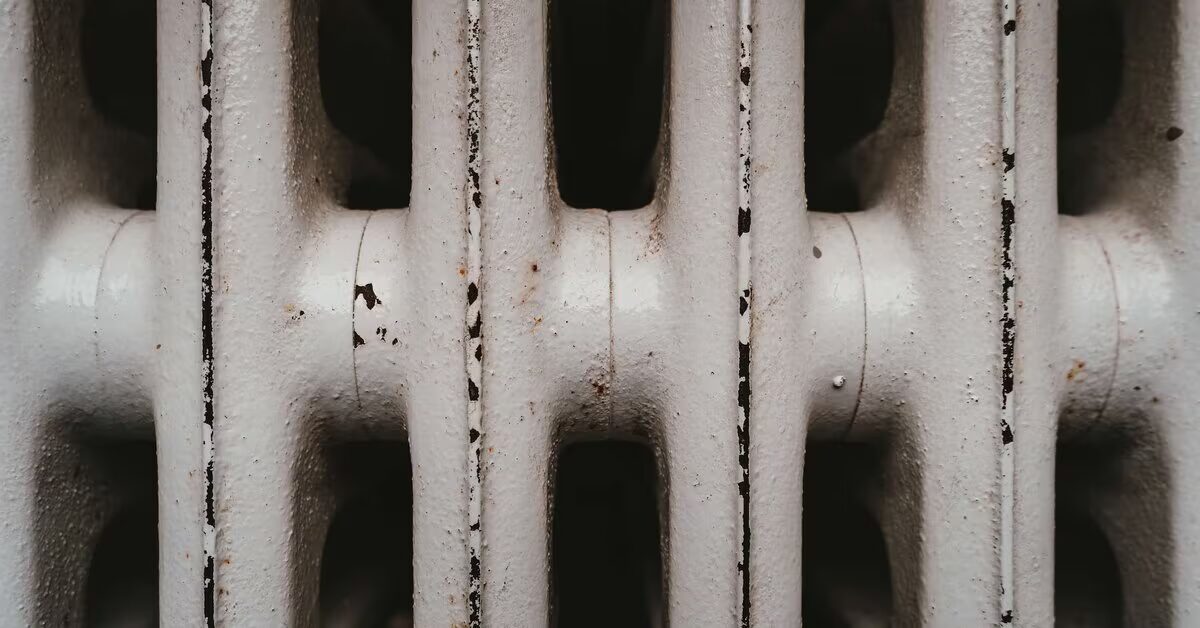
Dust and grime stuck inside and outside your radiator can seriously choke its ability to warm your home. While heating system issues sometimes cause cold radiators, often the real culprit is a buildup of dirt and dust between the sections. This not only blocks warm air but also causes that unpleasant ”burnt apartment” smell early in the heating season.
What starts as light dust on your radiator quickly turns into a sticky layer of filament, debris, and grime. This acts like insulation, reducing heat output while also degrading indoor air quality. Over time, dust buildup accelerates wear on the radiator’s finish and shortens its lifespan.
Older cast iron radiators are notorious for trapping dirt. Aluminum and bimetal radiators have smoother surfaces, but accessing internal channels remains tricky. Steel panel radiators are easier to clean externally, but internal dry cleaning still demands patience and proper tools.
How often should you clean your radiators?
Wipe dust off your radiator every one to two weeks as part of regular house cleaning. This quick step prevents dust from turning into stubborn buildup. Homes with pets need more frequent attention, since fur collects rapidly inside radiator sections.
Every six months, give your radiator a deeper wash, including removing grills and covers-ideally once before the heating season starts and once after it ends. This cuts down on dust smells and keeps heat output from dropping.
Flushing out mineral scale and rust inside the radiator is a rarer job-once every three to five years. Uneven heating or cold spots indicate internal blockages that need professional flushing with specialized equipment rather than a DIY approach.
Essential tools for radiator cleaning
- Microfiber cloths or soft sponges
- Vacuum cleaner with narrow nozzle
- Blow dryer with cold air setting
- Spray bottle with soapy water
- Small brush, radiator brush, or DIY brush
- Towel, basin, or shallow tray
For routine cleaning, warm water and gentle detergent-like dish soap or liquid hand soap-work fine. Stubborn grime can be treated with a baking soda and mild vinegar mixture, but avoid harsh chemicals with acids or chlorine. These damage paint and are especially bad for aluminum and bimetal radiators.
Skip metal scrapers and abrasive pads to prevent scratching the finish. Scratches trap more dirt and quickly turn into bigger cleaning headaches.
Step-by-step radiator cleaning inside and out
Start by turning off your heating or wait for the radiator to cool completely. Warm surfaces make cleaning less effective and stir up dust into the air. Place an old towel or sheet under the radiator, and set a basin or tray beneath to catch drips and dust.
First, do a dry clean. Vacuum the outer surfaces and between sections thoroughly. If your vacuum’s nozzle can’t reach narrow spots, use a cold air blower to push dust toward the towel below. For tight gaps, a small brush, a long-handled microfiber wrapped around skewers, or even two toothbrushes taped back-to-back can help.
Next, do the wet cleaning. Spray the soapy water onto the radiator, let it sit for five to ten minutes, then wipe down all the sections with a sponge or cloth. An old toothbrush can tackle tough spots. For reaching deeper crevices, clamp a sponge between the blades of scissors to create a narrow cleaning tool.
Cleaning cast iron radiators takes more effort due to their accordion shape and rough surfaces that trap dirt easily. Aluminum and bimetal types clean faster but can’t handle aggressive chemicals. For steel panel radiators, focus on upper and side vents where dust tends to build up most.
After washing, dry the radiator thoroughly and wipe the surrounding wall, baseboard, and floor to avoid leftover dust or moisture making the area look messy again shortly after.
Using just mild soapy water avoids strong smells. While adding fabric softener to the cleaning water sounds cozy, it doesn’t help the radiator’s heat output or longevity.
If your radiator remains cold despite cleaning and a hot water supply, the problem probably lies deeper-in sludge, air pockets, or rust inside. Trying to flush internal channels without removing the radiator risks causing leaks or damaging the system. It’s safer to call a pro for hydraulic or chemical flushing.
Maintaining a simple cleaning schedule-quick dry dusting every couple of weeks, full washing twice a year, and periodic professional checks-keeps radiators running efficiently and your room air fresher. No need to crawl between narrow radiator sections with a flashlight when chilly weather hits.